

Hosting on AWS
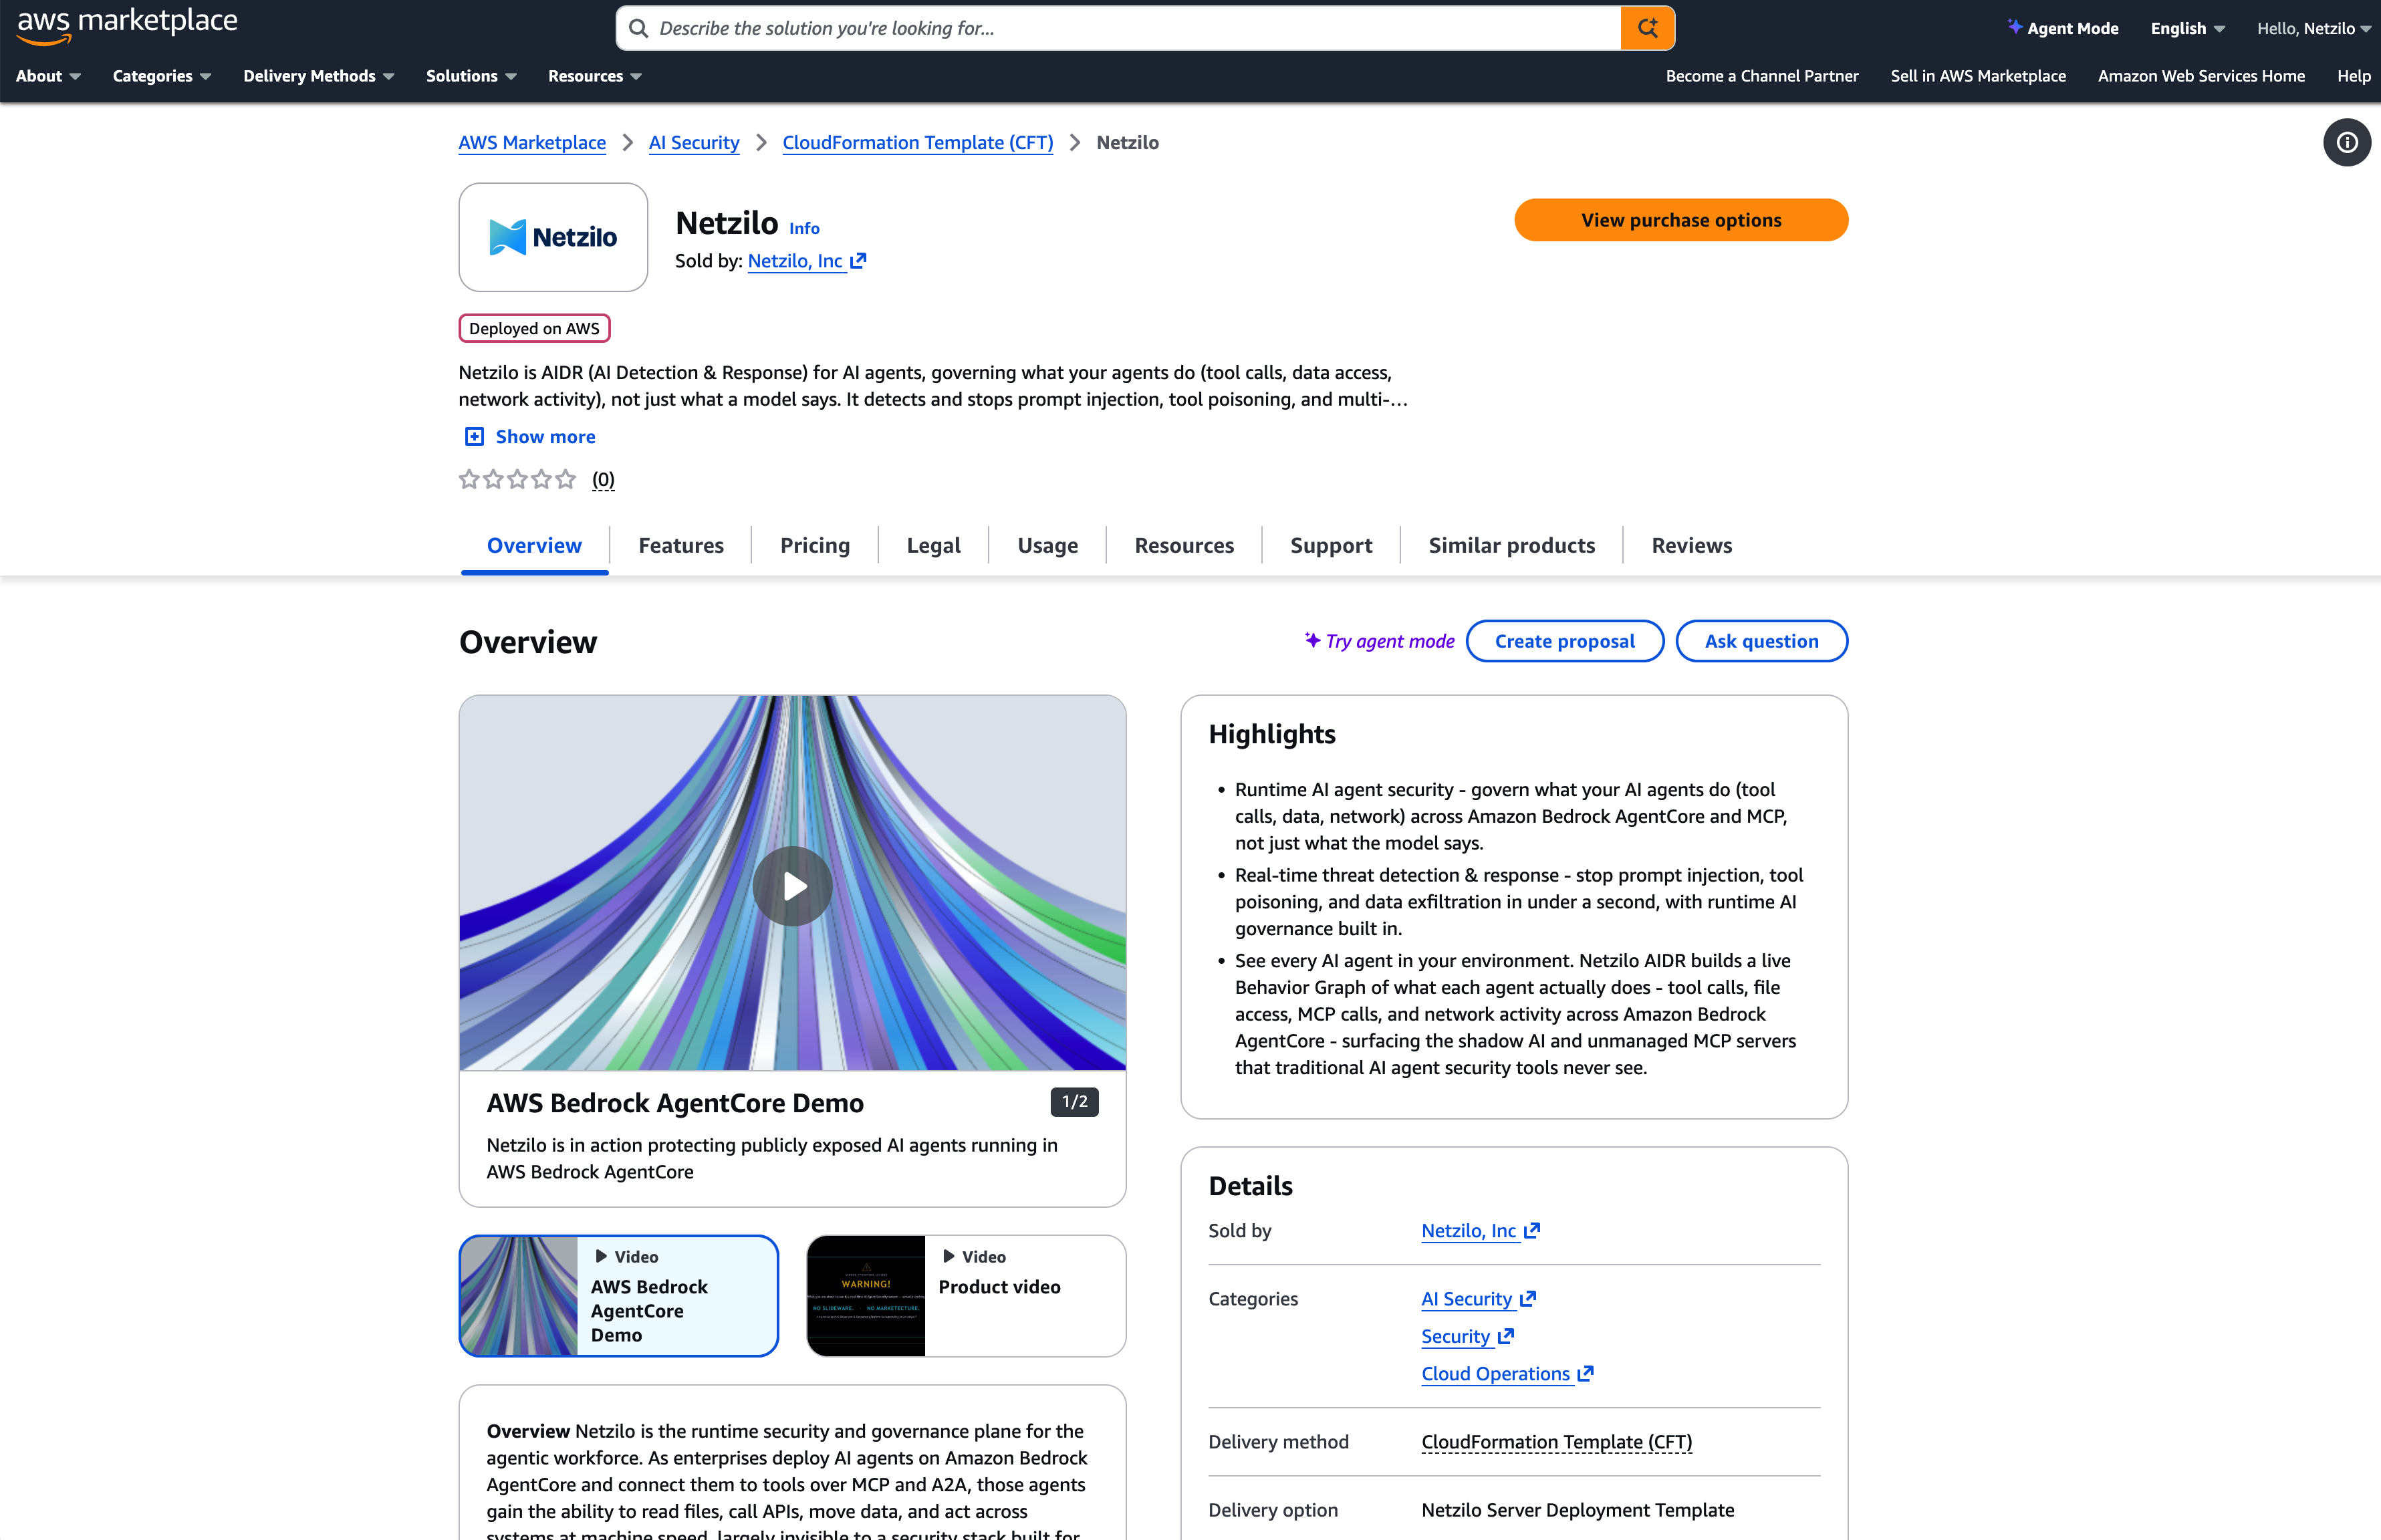
You can deploy a complete Netzilo Server into your own AWS account from the AWS Marketplace. A CloudFormation template creates the server, its security group and its permissions, installs everything on first boot and gets a free HTTPS certificate. You reserve an IP address, point your domain at it, fill in a form and sign in.
Typical time to a working server: 10 to 15 minutes.
View the Netzilo listing on AWS Marketplace →
The domain you choose is permanent and cannot be under netzilo.com. Moving the server
to another domain later means a new deployment and enrolling every device again.
How it works
The template runs in your AWS account and creates:
- an EC2 instance with a 30 GB encrypted gp3 disk, from the Netzilo image, with IMDSv2 required. It runs ten containers: the dashboard, management, signal, the identity provider, the relay, the database, the cache, the HTTPS front door, the AI Assistant's worker and the clientless-access gateway on port 8443. With a published applications domain, an eleventh container serves published applications;
- a security group with the ports listed in Ports;
- an IAM role that lets the instance use Session Manager, store its admin credentials in SSM Parameter Store, and report usage to AWS Marketplace;
- the association of your Elastic IP with the instance.
On first boot the instance installs the server from the images on its disk; nothing is downloaded. Every image is pinned to a fixed version.
Billing is per named user, per hour, through AWS Marketplace. Only people count: Agents (non-login service users) are not billed. After the first sign-in the account runs as Enterprise, with every feature and no limits.
Before you start
- An AWS account, and a VPC with a public subnet. The default VPC works.
- A domain you can add DNS records to, for example
go.example.com. - Optional: a second domain for published applications, for example
apps.example.com, see Published applications.
Step 1: Reserve an IP and set your DNS
The template asks Let's Encrypt for a certificate on first boot, so point your domain at the server's address before you launch:
- In the AWS console, go to EC2 > Elastic IPs > Allocate and note the allocation ID,
which looks like
eipalloc-0abc…. - Create a DNS
Arecord for your domain pointing at that IP:go.example.com A <your Elastic IP>. - For published applications, also create the wildcard record
*.apps.example.com A <your Elastic IP>.
Step 2: Subscribe and launch
- In AWS Marketplace, search for Netzilo, open the listing and click Subscribe.
- Choose the delivery option Netzilo Server Deployment Template, then launch it with CloudFormation.
- Fill in the form:
| Field | What to enter |
|---|---|
| Domain (required, FQDN) | The domain from Step 1, for example go.example.com |
| Elastic IP allocation ID | The eipalloc-… from Step 1 |
| Admin email / username | Your sign-in name, for example alice@example.com |
| Admin first name, Admin last name | The first administrator |
| Admin password | At least 12 characters, with an uppercase letter, a lowercase letter, a number and a symbol |
| Published applications domain | Optional, for example apps.example.com. Leave empty to skip |
| Instance type | t3.large (default) for most cases, see Sizing |
| SSH key pair | Optional. Session Manager works without one |
| SSH admin access CIDR | The range allowed to use SSH, for example 203.0.113.5/32. Avoid 0.0.0.0/0 |
| VPC | Your VPC. The default VPC is fine |
| Public subnet | A public subnet in that same VPC |
| Database mode | container (default) for the database on the server. external uses your own PostgreSQL, such as Amazon RDS: fill in DB host, DB port, DB admin user, DB admin password and DB SSL mode (require, verify-full or disable). See Use an external PostgreSQL database |
- Create the stack and wait for CREATE_COMPLETE. First-boot setup then takes about five more minutes.
Step 3: Sign in
Open the stack's Outputs tab:
| Output | Use |
|---|---|
DashboardURL | The address to open once first boot finishes |
AdminCredentialsConsoleLink | The admin credentials in SSM Parameter Store |
AdminCredentialsCLI | The same, as an AWS CLI command |
SessionManagerCommand | A shell on the server without SSH |
DnsReminder | The DNS record the server expects |
Open https://go.example.com and sign in with the admin email and password you entered.
You are not asked to change the password. A certificate warning in the first minutes means
the certificate is still being issued: wait a minute and reload.
To follow first boot, open a shell with Session Manager and run
sudo tail -f /var/log/netzilo-firstboot.log until it shows
=== Netzilo first-boot complete ===.
After the first sign-in
- Set up backups. Nothing is backed up automatically. See Backup and restore.
- Configure e-mail (SMTP) for invitations and password resets. See Identity provider and SSO.
- Switch on clientless access and published applications under Settings > Permissions, if you use them. See Clientless-access gateway and Published applications.
- Connect an AI provider under Integrations > Artificial Intelligence to show the AI Assistant. See AI Assistant.
There is one server and no high availability; you recover by restoring a backup to a new stack.
Manage the server
Connect with Session Manager (aws ssm start-session --region <region> --target <instance-id>) or SSH. The compose folder is /opt/netzilo/run; the credentials are
in /opt/netzilo/CREDENTIALS and are shown at SSH login.
cd /opt/netzilo/run
sudo docker compose ps          # what's running
sudo docker compose logs -f     # follow logs
To read the admin credentials from your own machine:
aws ssm get-parameter --with-decryption --region <region> \
  --name /netzilo/<stack-name>/admin-credentials --query Parameter.Value --output text
Every image on the server is pinned to a fixed version, so docker compose pull changes
nothing. To update, follow Upgrade and add components. Never delete
/opt/netzilo/.provisioned or run first boot again: that installs a new, empty server over
the existing one.
Sizing
| Instance type | vCPU | Memory | Good for |
|---|---|---|---|
t3.large (default) | 2 | 8 GB | Most deployments, up to a few hundred devices |
t3.xlarge | 4 | 16 GB | Larger networks or heavier relay traffic |
m6i.large | 2 | 8 GB | Steady, consistent performance |
m6i.xlarge | 4 | 16 GB | Larger, steady deployments |
The disk is 30 GB. Watch its use (df -h /); 40 GB is recommended for long-running servers.
Ports
The template creates the security group. For reference:
| Port(s) | Protocol | Source | Purpose |
|---|---|---|---|
22 | TCP | Your admin CIDR | SSH |
80 | TCP | Public | Certificate validation and the redirect to HTTPS |
443 | TCP | Public | Dashboard, API, sign-in, and the connection devices keep to the server |
3478 | TCP and UDP | Public | STUN and TURN |
5349 | TCP and UDP | Public | TURN over TLS |
49152-65535 | UDP | Public | Relay allocations |
8443 | TCP | Public | Clientless-access gateway |
Stacks created from older templates lack port 8443. Add it to the stack's security group:
aws ec2 authorize-security-group-ingress --group-id <sg-id> --protocol tcp --port 8443 --cidr 0.0.0.0/0
The instance also needs outbound HTTPS to the AWS Marketplace metering endpoint; the default outbound rule allows it.
Troubleshooting
Stack error: "security group and subnet belong to different networks". The subnet is not in the VPC you chose. Choose a public subnet of that VPC.
A certificate warning in the browser. The certificate is still being issued, or the A
record does not point at the Elastic IP. Check the record, wait a minute and reload. The
server retries by itself.
The dashboard does not load. First boot is still running. Wait for CREATE_COMPLETE
plus about five minutes, and check /var/log/netzilo-firstboot.log.
You cannot find the admin password. Use the AdminCredentialsCLI output, or read
/opt/netzilo/CREDENTIALS on the server.
SSH does not connect. The admin CIDR does not include your address. Widen it, or use Session Manager.
Browsers with the extension show "Private access: unavailable". Port 8443 is not open on a stack from an older template. Add the rule above.
Relayed devices cannot pass traffic. Check that 49152-65535/udp is open. If it is, add
external-ip=<Elastic IP>/<private IP> to /opt/netzilo/run/turnserver.conf and run
sudo docker compose restart coturn in /opt/netzilo/run.
For other problems, see Troubleshooting. Need help? Write to support@netzilo.com.
Related Documentation
- Self-hosted vs. Cloud - what you run yourself
- Server reference - containers, files and ports
- Upgrade and add components - update a marketplace server
- Backup and restore - protect the server's data